Long Time No Draw......
Well... I has been a long time since I've laid real or virtual pencil to paper. Literally the last post. So I thought I'd try something different with this post and show a progression of the sketch I attempted to do. I've often found it really useful to see step by step progressions from people who really knew their shit. So I thought it might be fun to have one from someone who has no clue what he's doing and is just kinda fumbling his way though it.. Might be neat... Might be a total waste of blog space.. Either way.. Here it is..
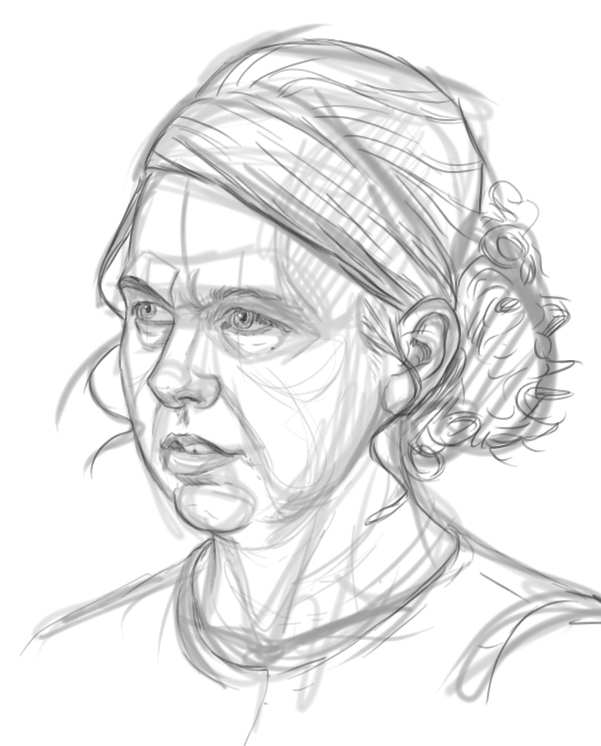
So.. This is my first step.. After I've found my reference i start with a little pencil sketch. This was all done in sketchbook pro. I ususally do the initial sketch in 2 layers. One layer with super rough with a thick pencil set to a grey. And then a layer over that where I set my pencil tool a bit smaller and grab a darker shade of grey to tighten up. You can see in someplaces that when i do the rough i try to start figuring out the shapes I want to try and model in certain areas later.. This is usually pretty helpful for me.. Although sometimes I end up discovering that my initial choices were a bit off..
 So.. This is my second step.. I've decided to attempt to do this skech in black and white with an eraser technique. So I laid down a drak grey as my darkest tone. Then I took a slightly less drak grey and started to carve away the features. I actually kinda like the way it looks at this stage. All dark and creepy.. And her skin has that bumpy sick texture to it..
 Now I just start doing tone passes with lighter greys. i usually start with a big brush and then switch to a smaller one for any needed details. You can see that the tone got really marbled and uneven.. I have issues trying to get even tone in sketchbook.. I like painter because you can mold each color into the last.. Sketchbook uses more of a layering technique. It's something I haven't gotten used to yet in sketchbook..
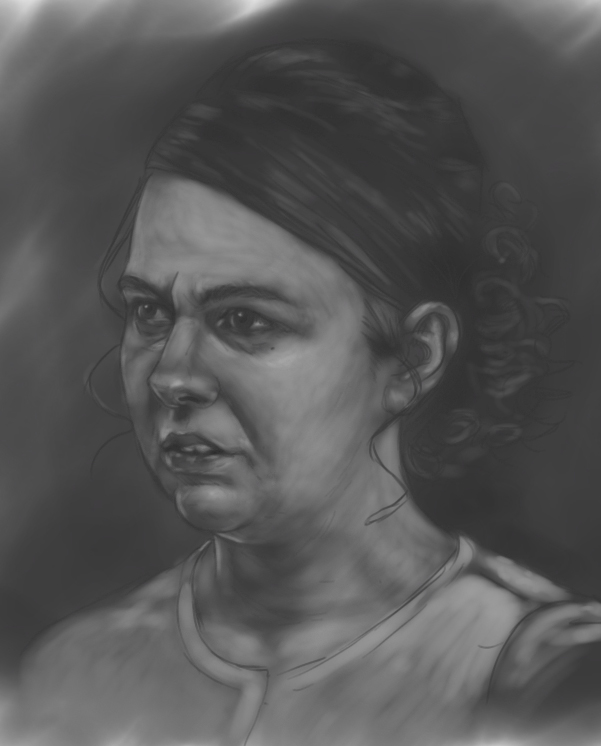 So.. You're not going to see too many differences in the next few steps.. just me trying to get a more overall even tone. To do this I added a new layer and took a larger brush to try and blend the big masses together. I also added a couple of areas of darker grey.. It kinda worked. I exported an image from another step I did after but it was very close to this so I didn't post it. Basicaly... Doing the big brush blending took some of the punch out of the detialed areas. Like the eyes. so I went back in and reworked those areas a bit. And I added some edge highlights on some areas..
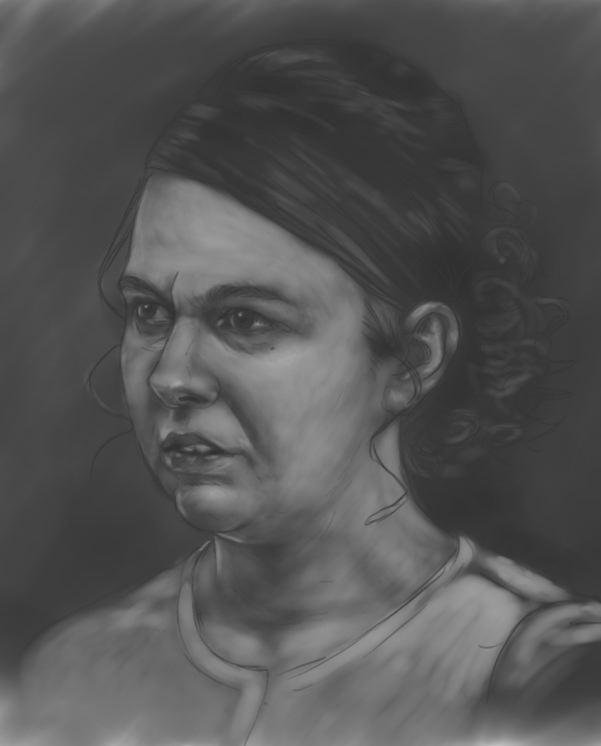
And this is what I ended up with.. I tried to blend some areas more and filled in the dead spots in the bg. I don't know if it's really what you'd call finnished.. as the overall skin tone is still all over the place. The neck in particular could have used some more TLC. But it was a fun experiment.. And it's all I could get done on my lunch break ;).. overall I think I like the way it looked in step 2 the best.. Have good weekend everybody.
posted by Jason C @ 12:14 PM
12 comments
![]()


